Create your first lesson note
Eight steps from an empty account to a signed, GES-ready week. teache asks one question at a time, and only the ones it cannot answer itself.
Prefer to watch? The walkthrough (11:35) covers the same ground.
Before you start
You need one class added, with its subject and class level, because that is what tells teache which NaCCA curriculum to plan from. You do not need a scheme of work. Nothing here requires one, and picking what you are teaching shows what changes if you have one.
1. Open a new lesson note
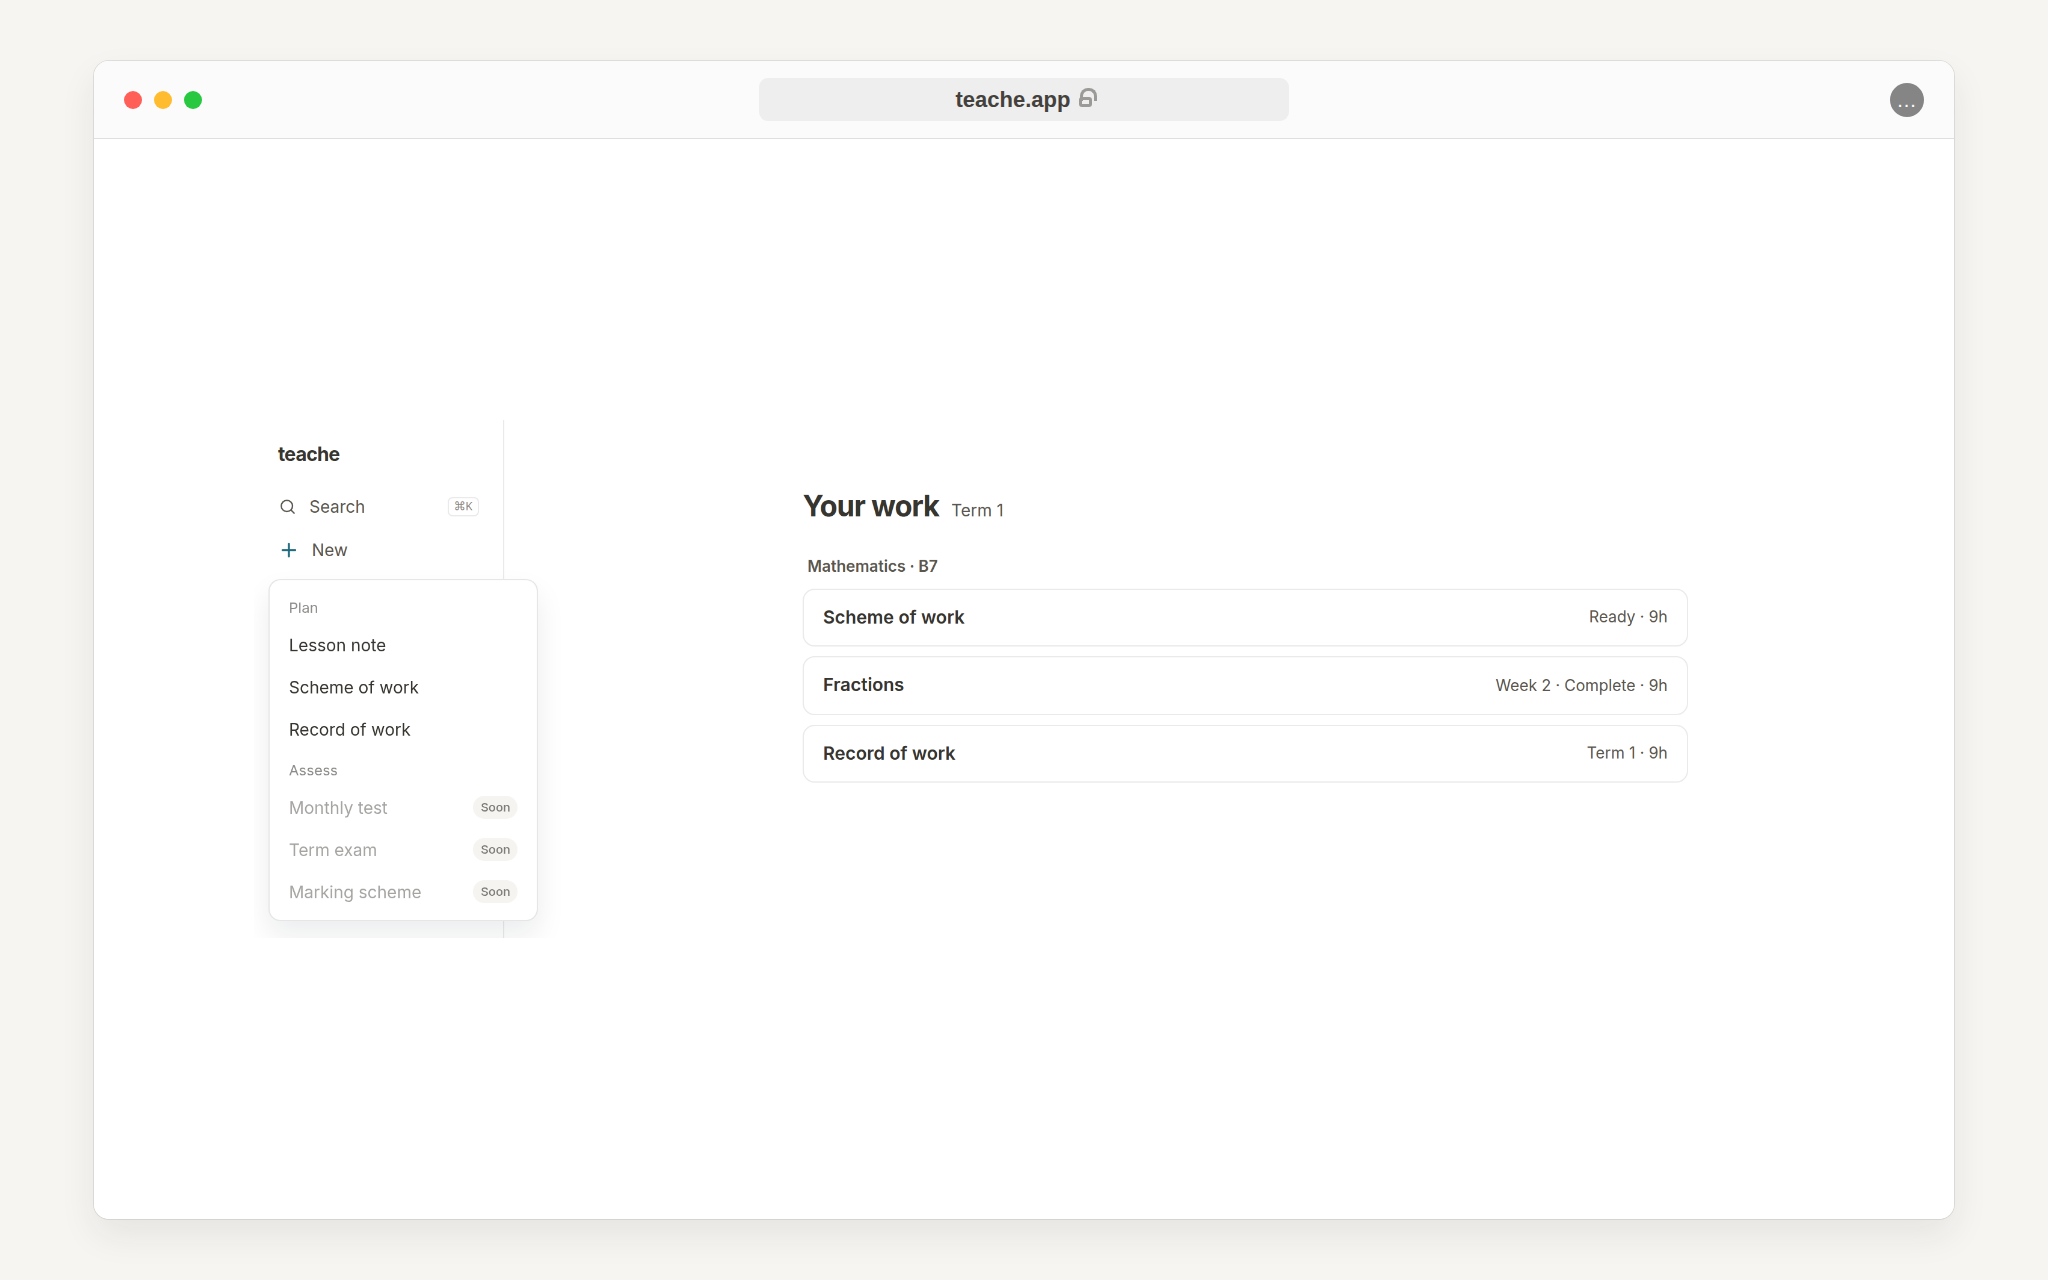
From the sidebar, click New, then choose Lesson note.
On a phone there is no sidebar. Tap the round + button in the bottom-right corner instead: it opens the same list. It carries no label, so it is easy to miss the first time.
2. Choose the class
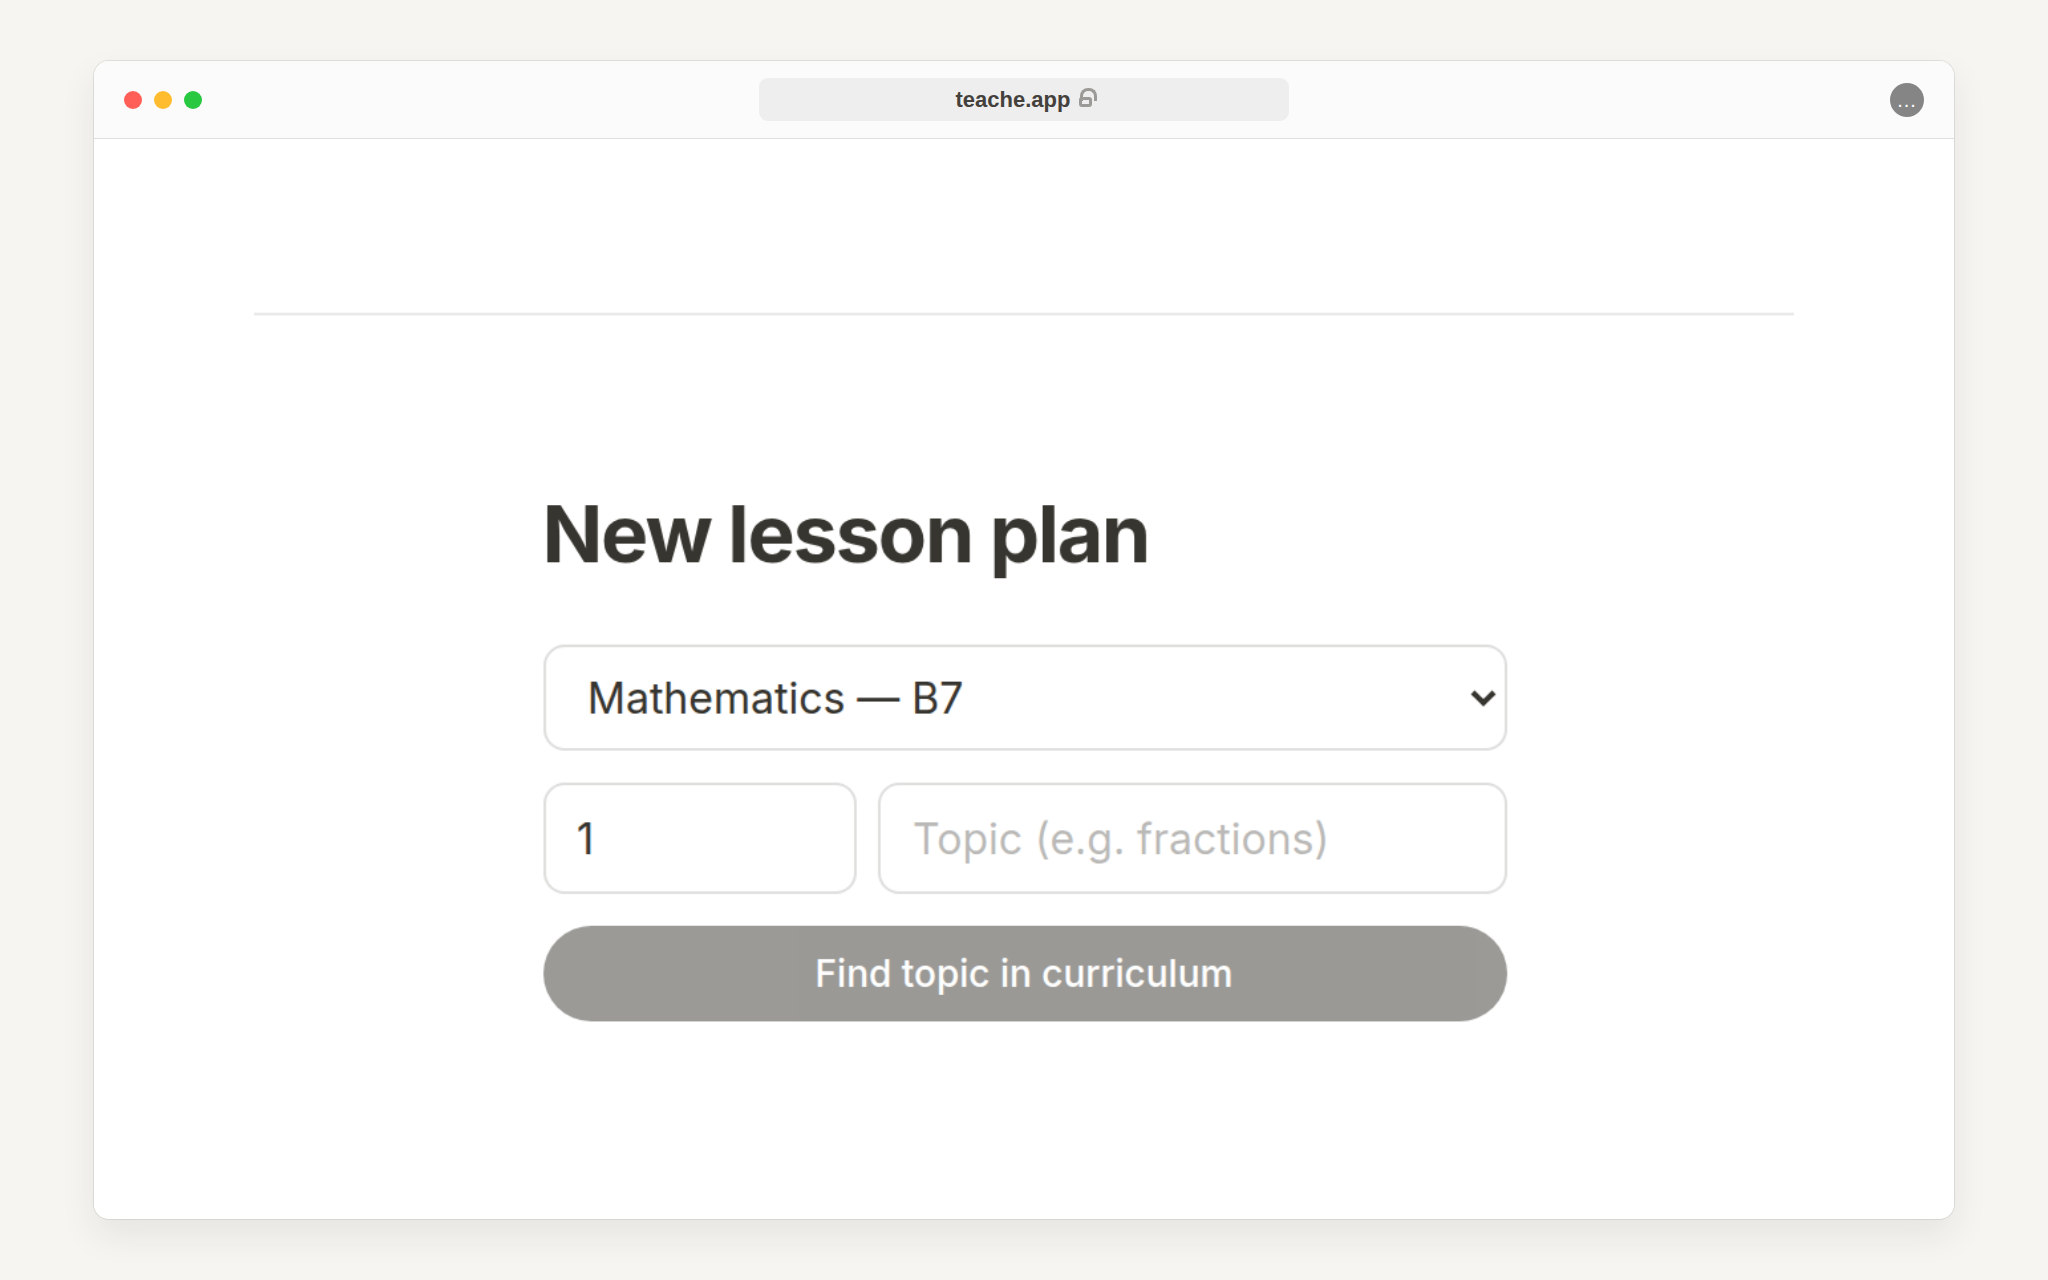
Pick the subject and class level you are planning for. If you teach only one class, this question does not appear at all: teache already knows the answer, so it does not ask.
3. Set your teaching times
Add a row for each period you teach this class in the week: the day, which period, and how long it runs. This is the step people underestimate. A GES lesson note is a week of periods on one document, and these rows are what the week gets built from, so the note comes out matching the timetable you actually teach.
You answer this once. If the class already has a saved timetable, teache skips the question, and after the note exists it offers to save these times for the rest of the term.
4. Pick what you are teaching
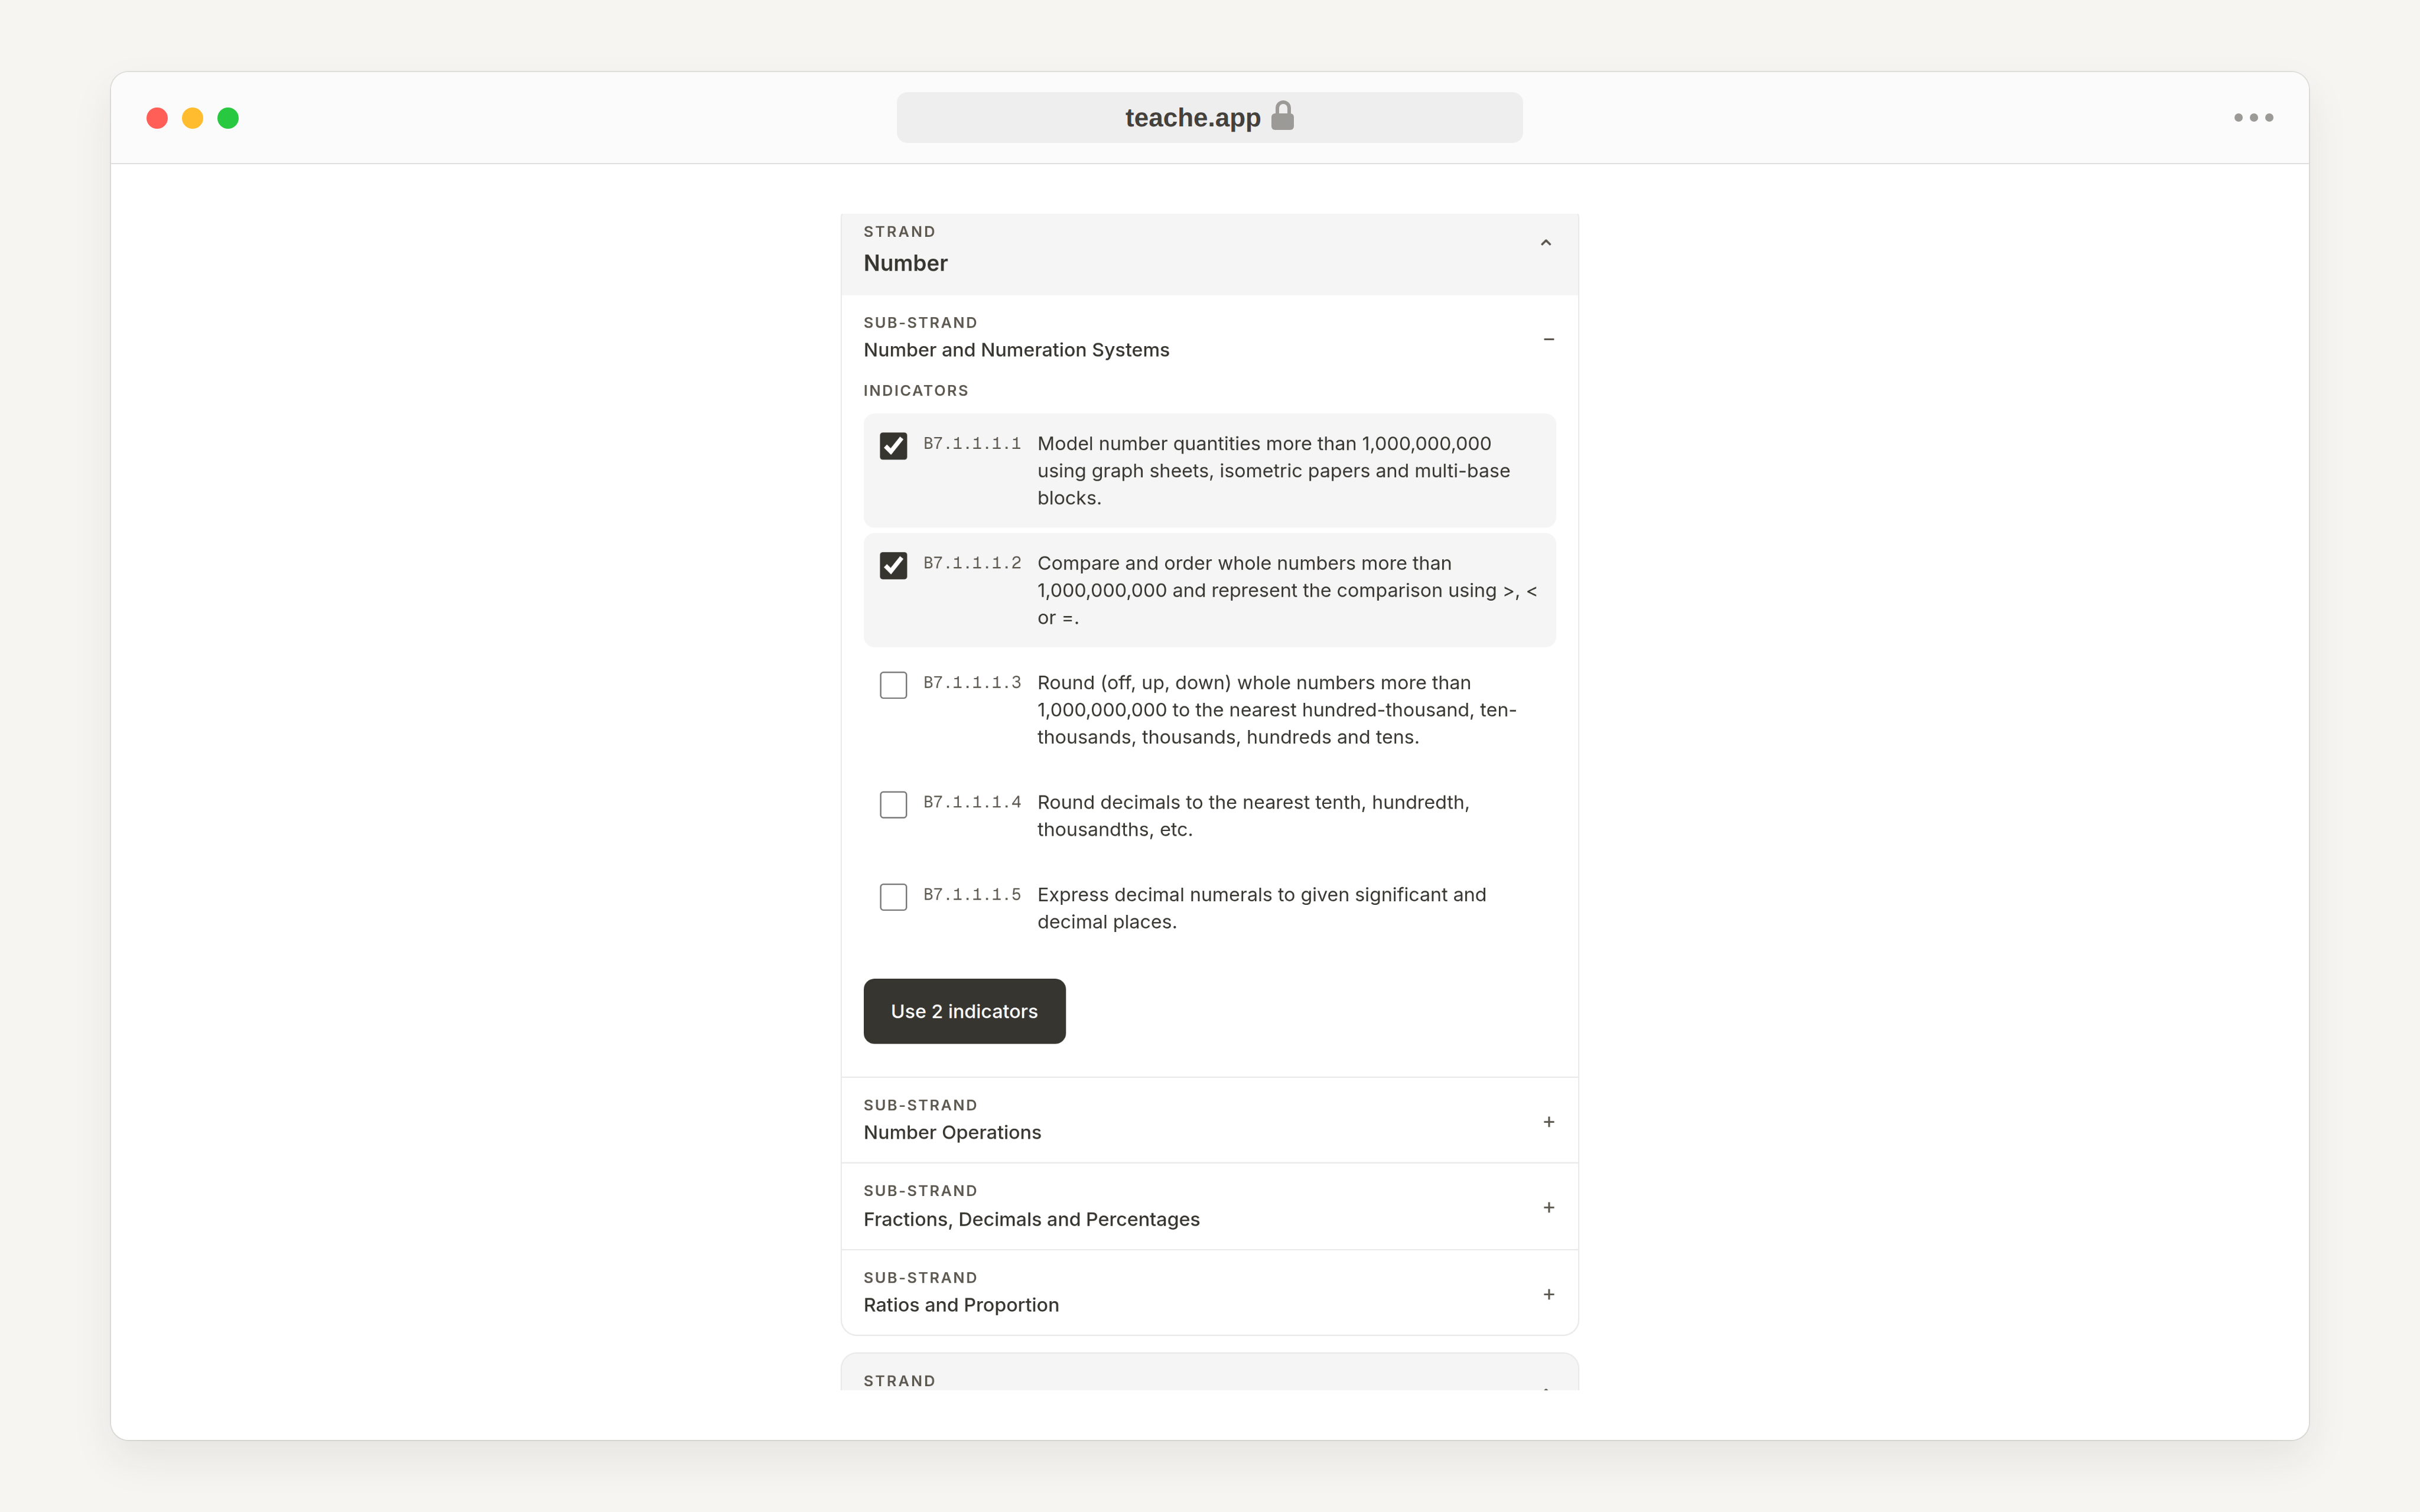
Click Choose from curriculum. You get the whole NaCCA curriculum for that subject at that class level: the strands, the sub-strands under them, and the indicators under those. Open a sub-strand, tick the indicators you are covering, then click the button at the bottom, which counts what you have ticked.
You tick indicators once for the whole week, not once per lesson. You are not deciding what goes on Monday here. teache does that when it builds the week.
The search box looks at indicator text and indicator codes, not only strand and sub-strand names, so you can find a standard without knowing which strand it sits under.
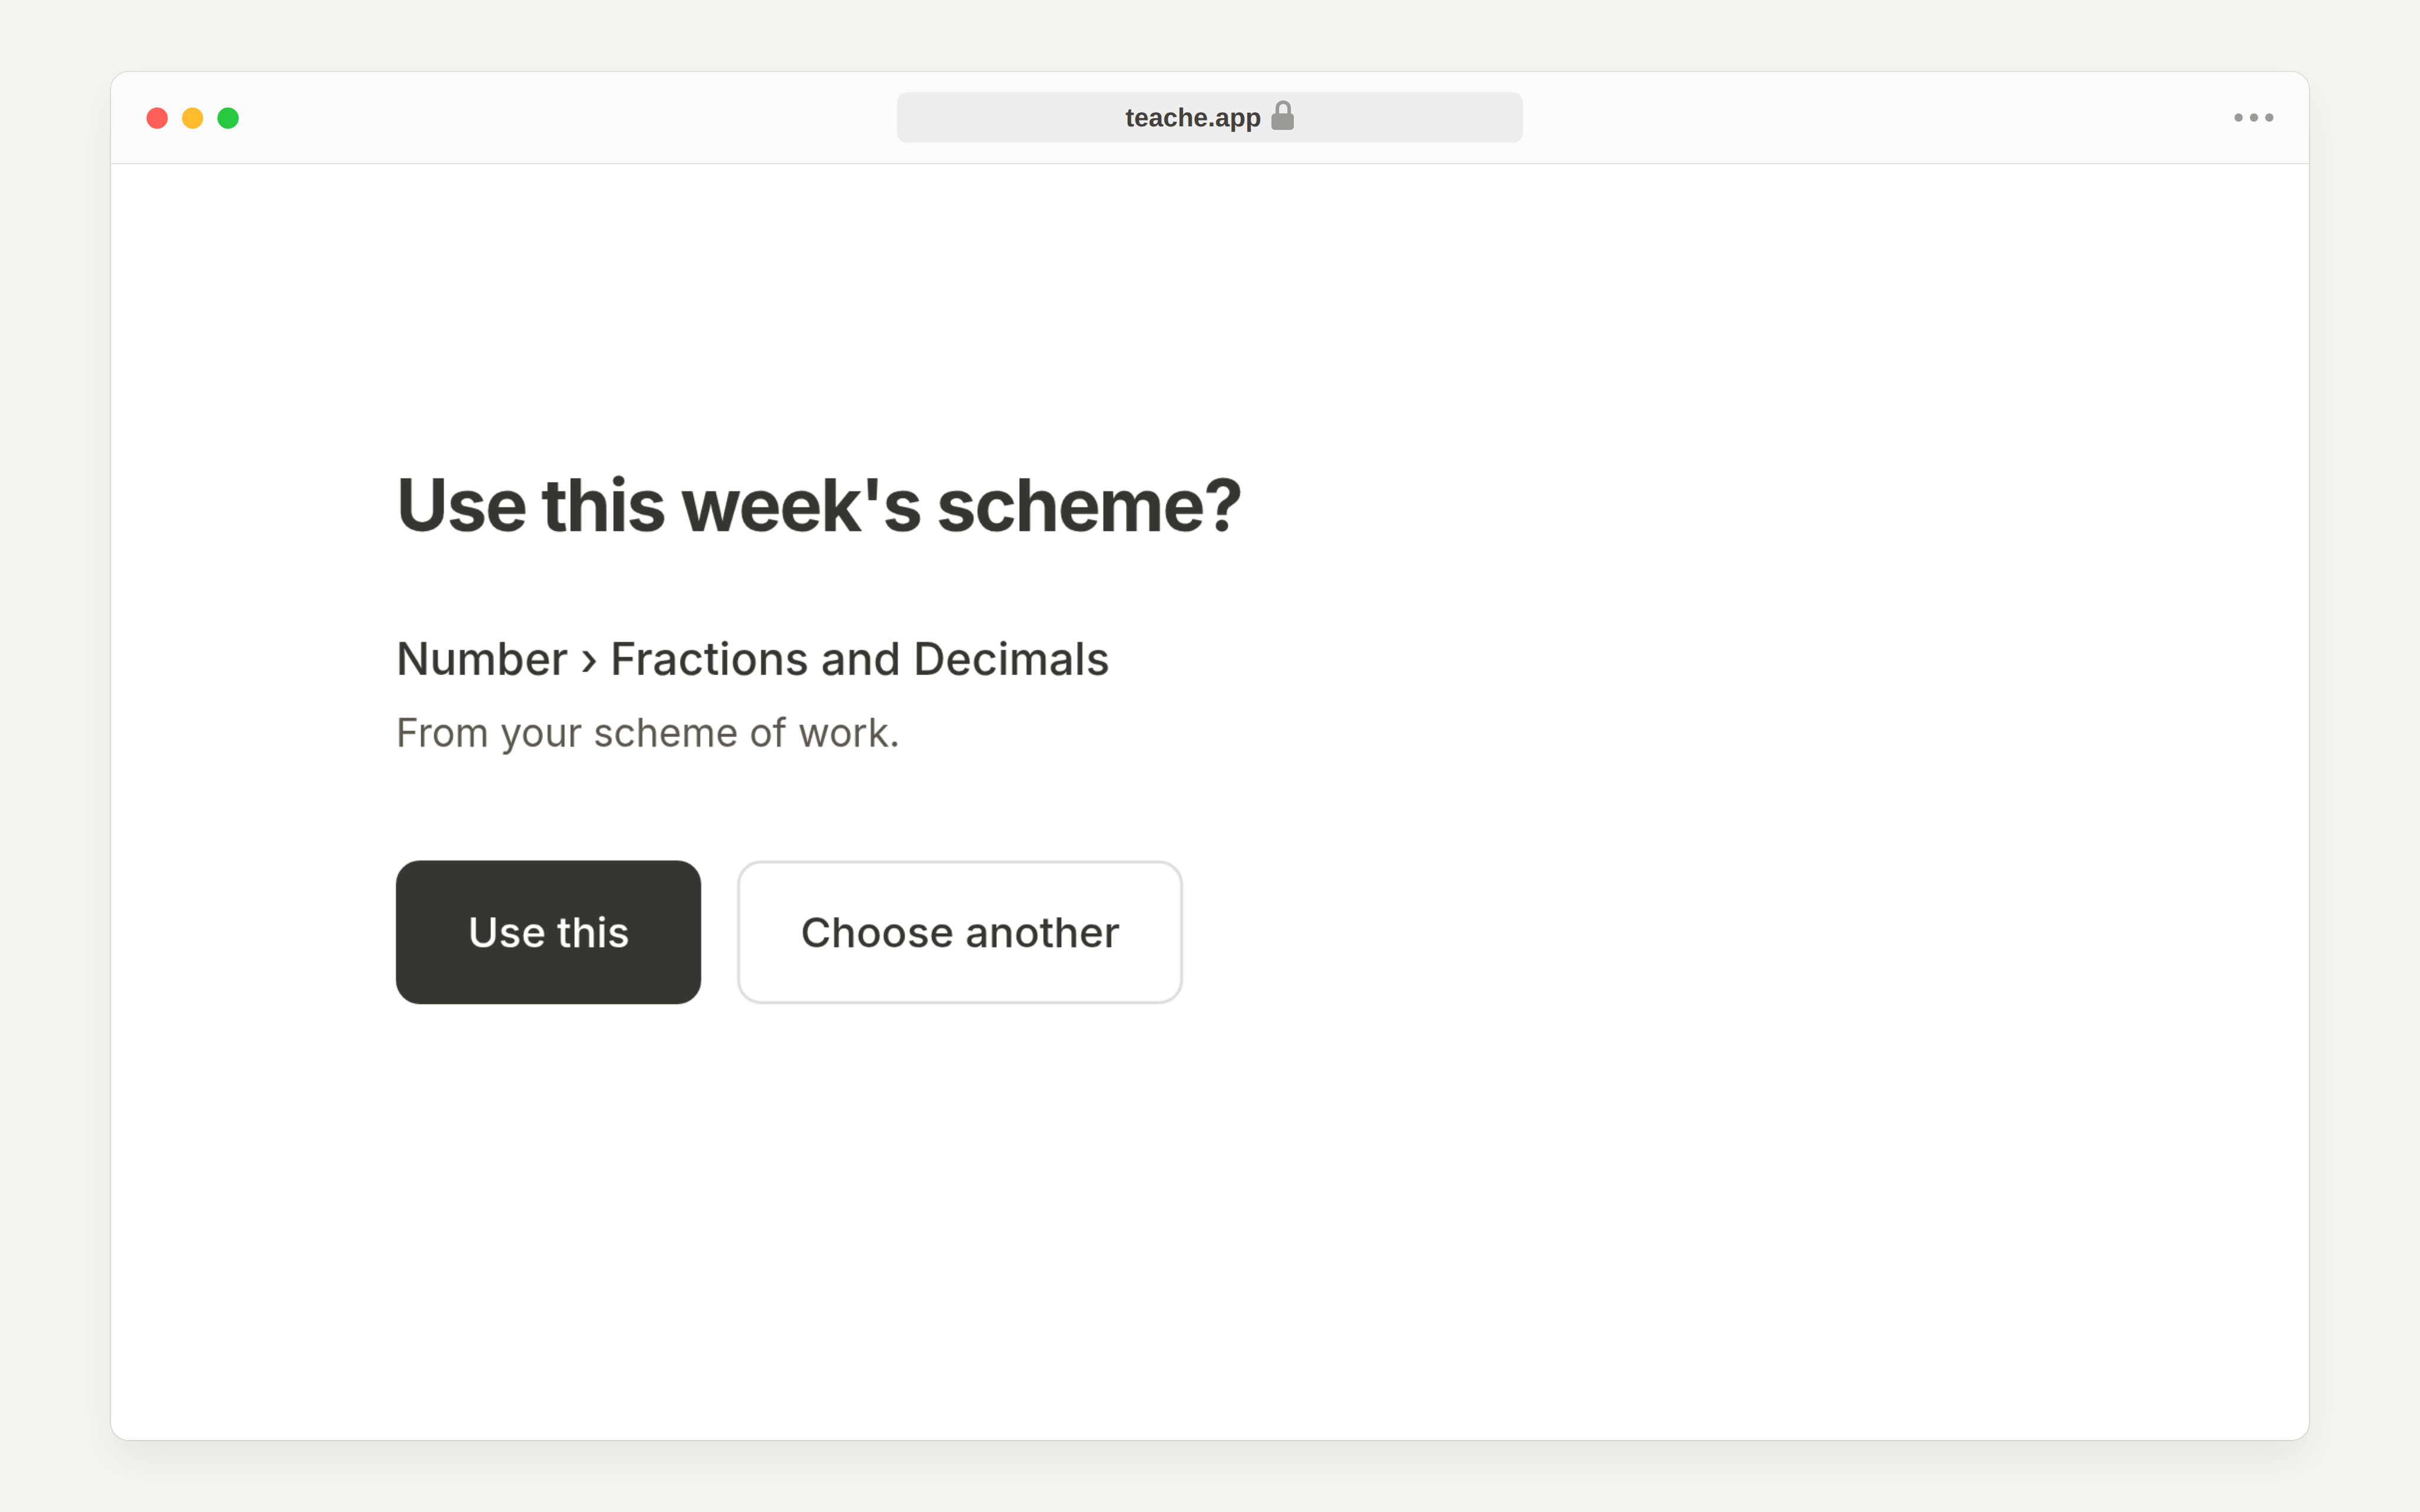
If your scheme of work already covers this week, this step looks different. teache names what your scheme has and asks whether you are teaching it. Choose Use this and the question is answered, indicators included. Choose Choose another if you are ahead of your scheme or behind it, which is normal. It is a suggestion, never something filled in for you.
5. Check the week teache builds
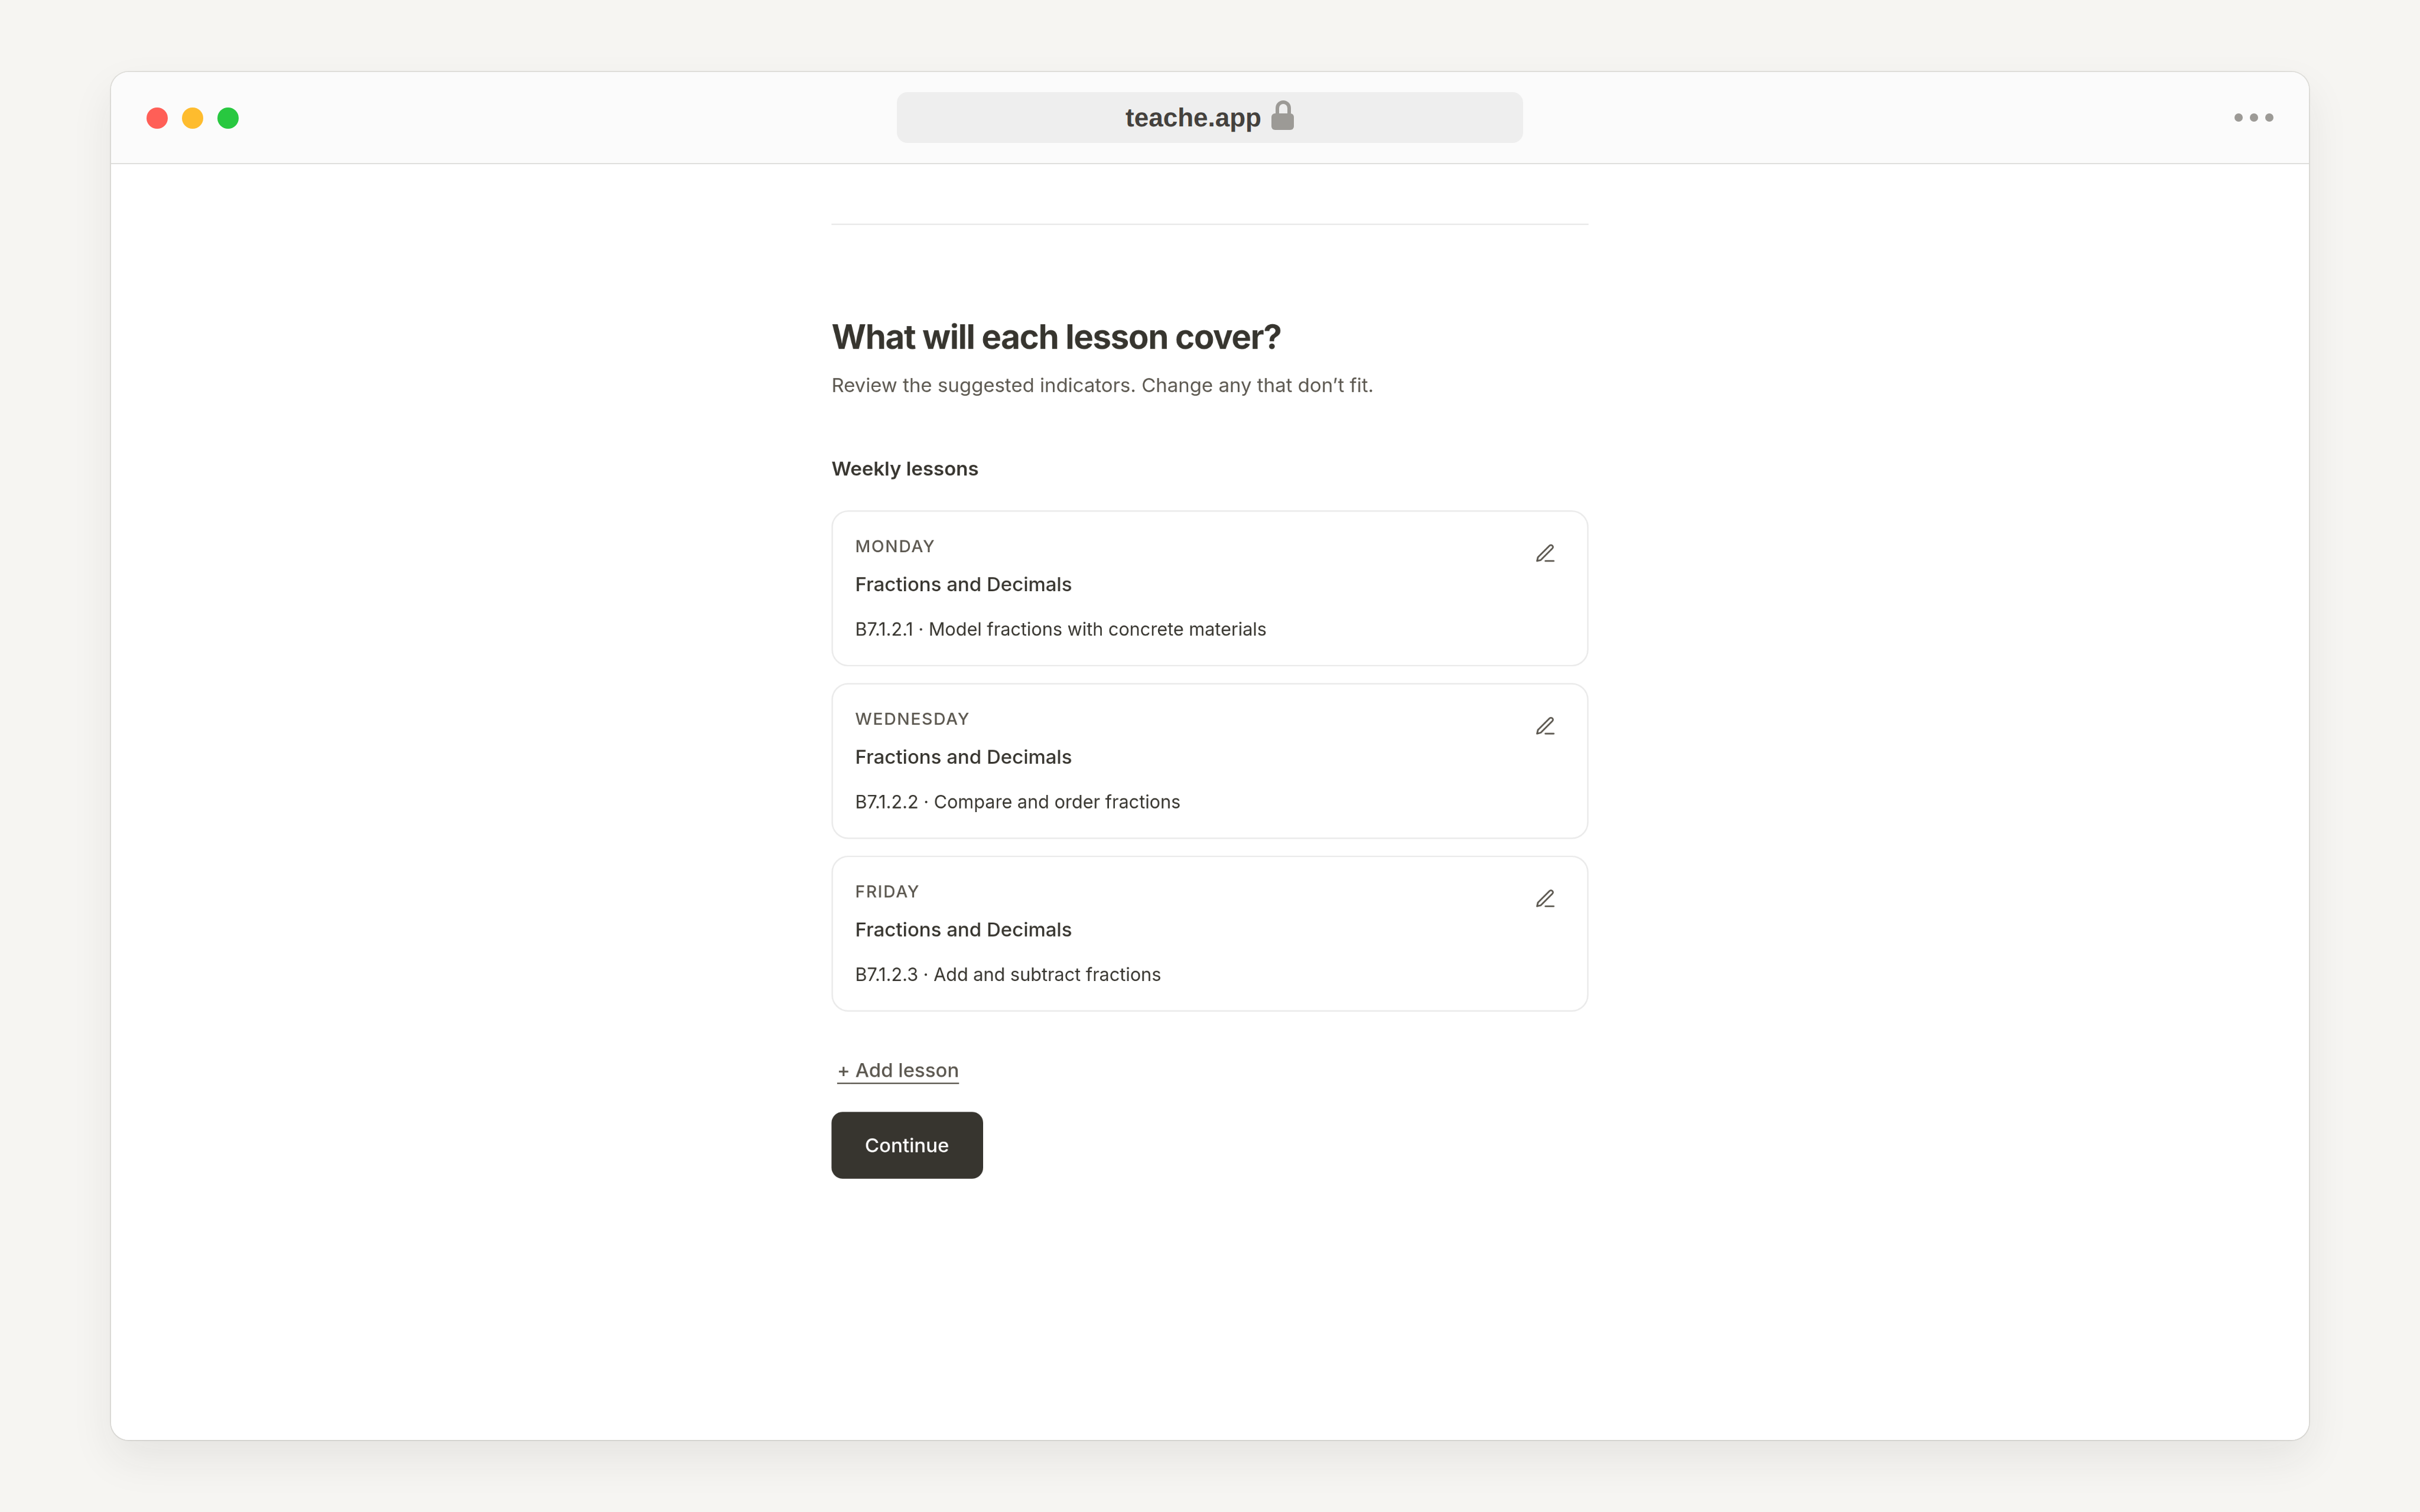
teache spreads the indicators you ticked across the days you teach, and shows you what landed on which day. It shares them out evenly and in order, giving each day a whole indicator wherever it can, so when you have more days than indicators an indicator runs across more than one day. Two indicators over an odd number of days is the one split that does not come out even, and there the middle day teaches both. Anything that did not fit is named rather than quietly dropped.
The split teache picks is a starting point. Read it, and change it here if you disagree: you can move indicators between days, add one or take one off. Nothing has been written at this point and no AI has run, so you are still describing your week.
6. Add your own examples
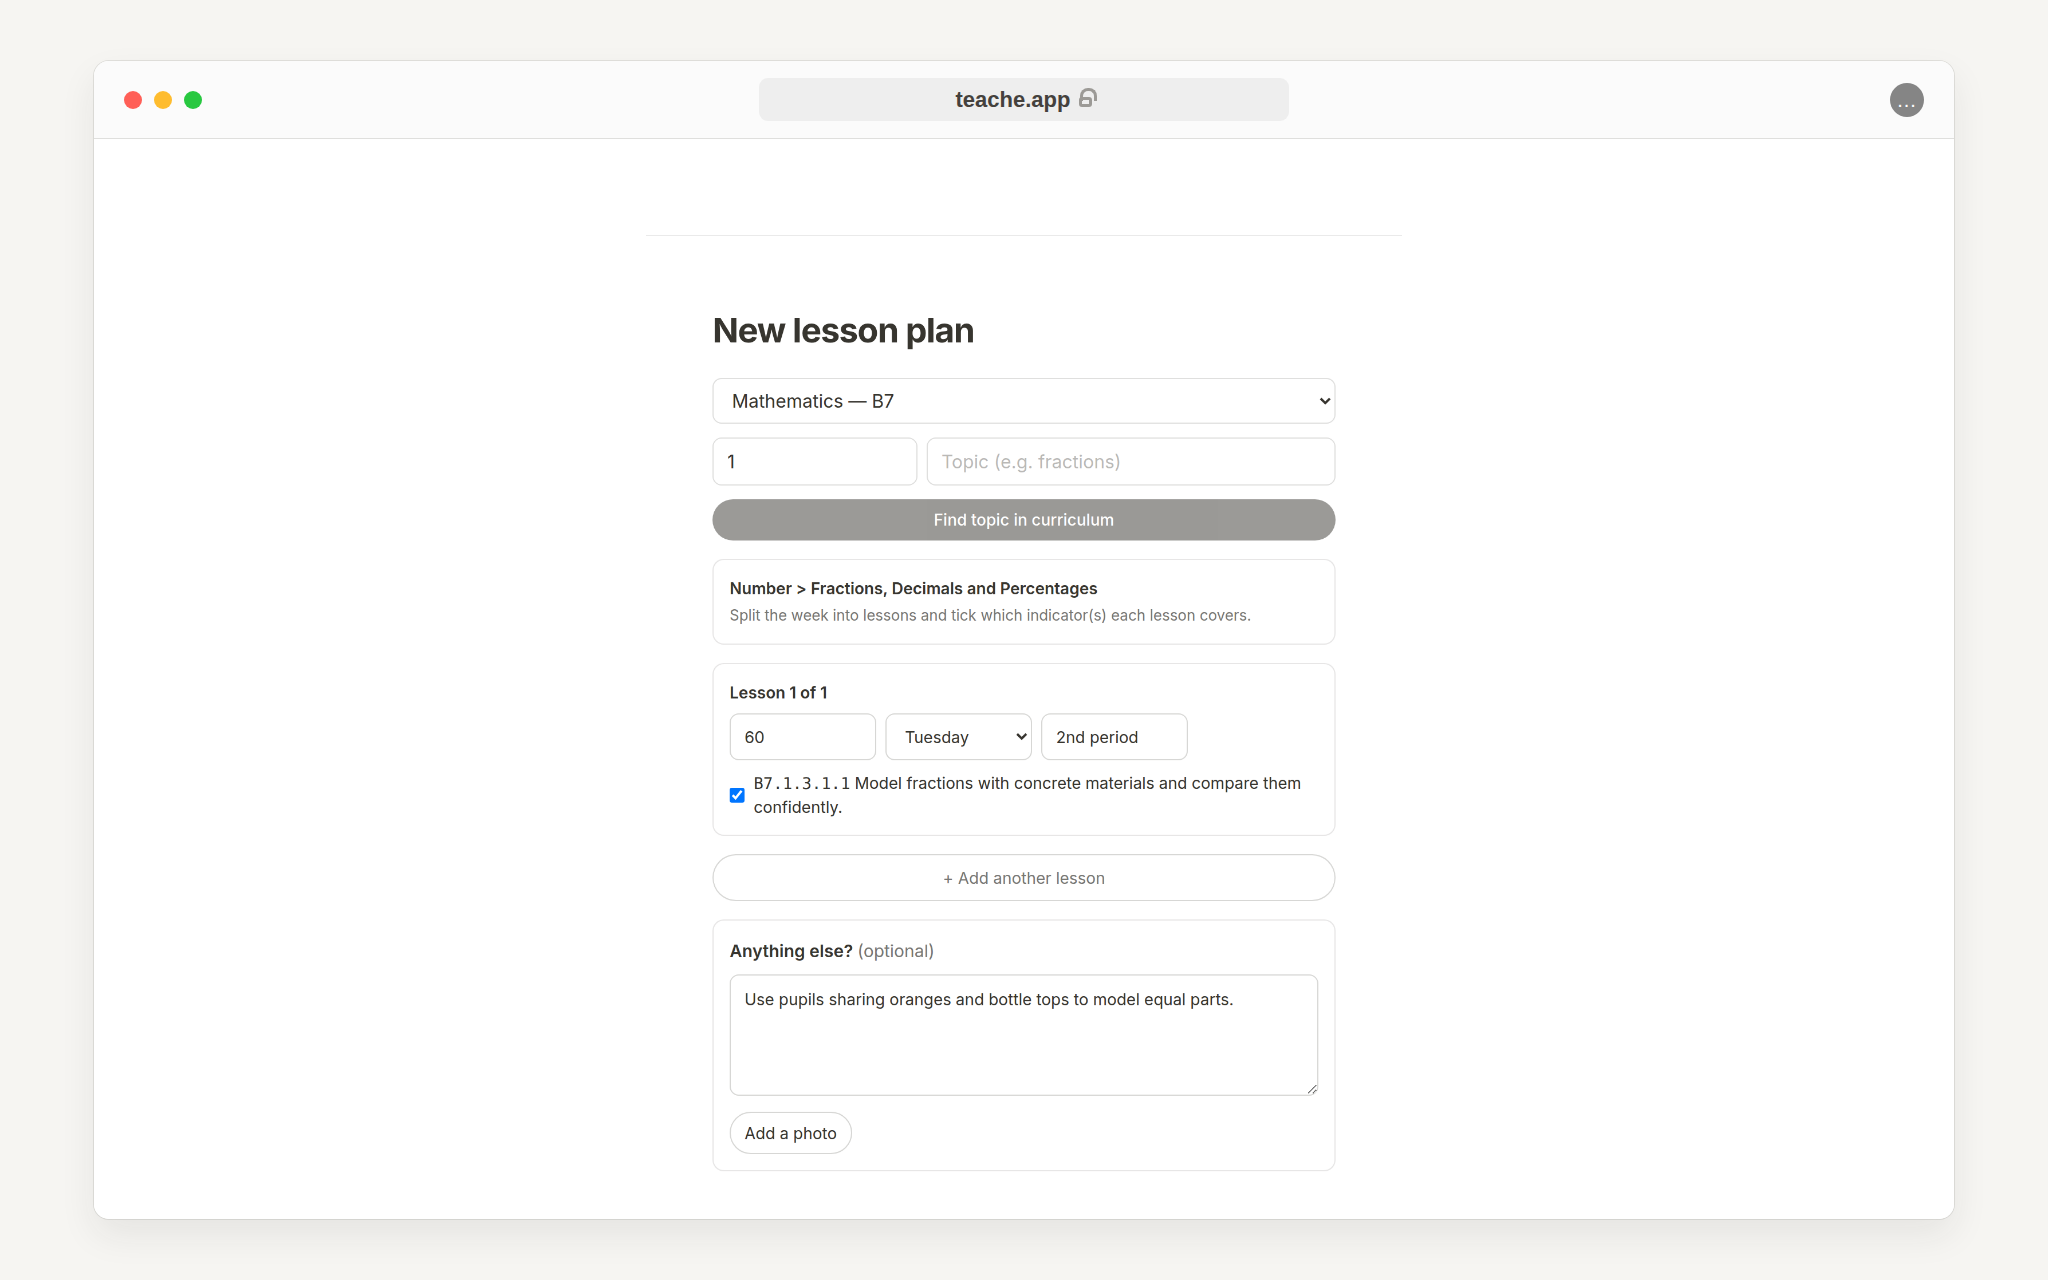
The last question is optional. Use it for your own examples, classroom context or materials. A short line is enough: use the market; pupils cut oranges and share among groups. That is what stops the note reading like it came from anywhere. You can also add a photo of a scheme, textbook page or handwritten note, and teache reads it into the seed. Nothing to add, skip it.
7. Choose how it is drafted
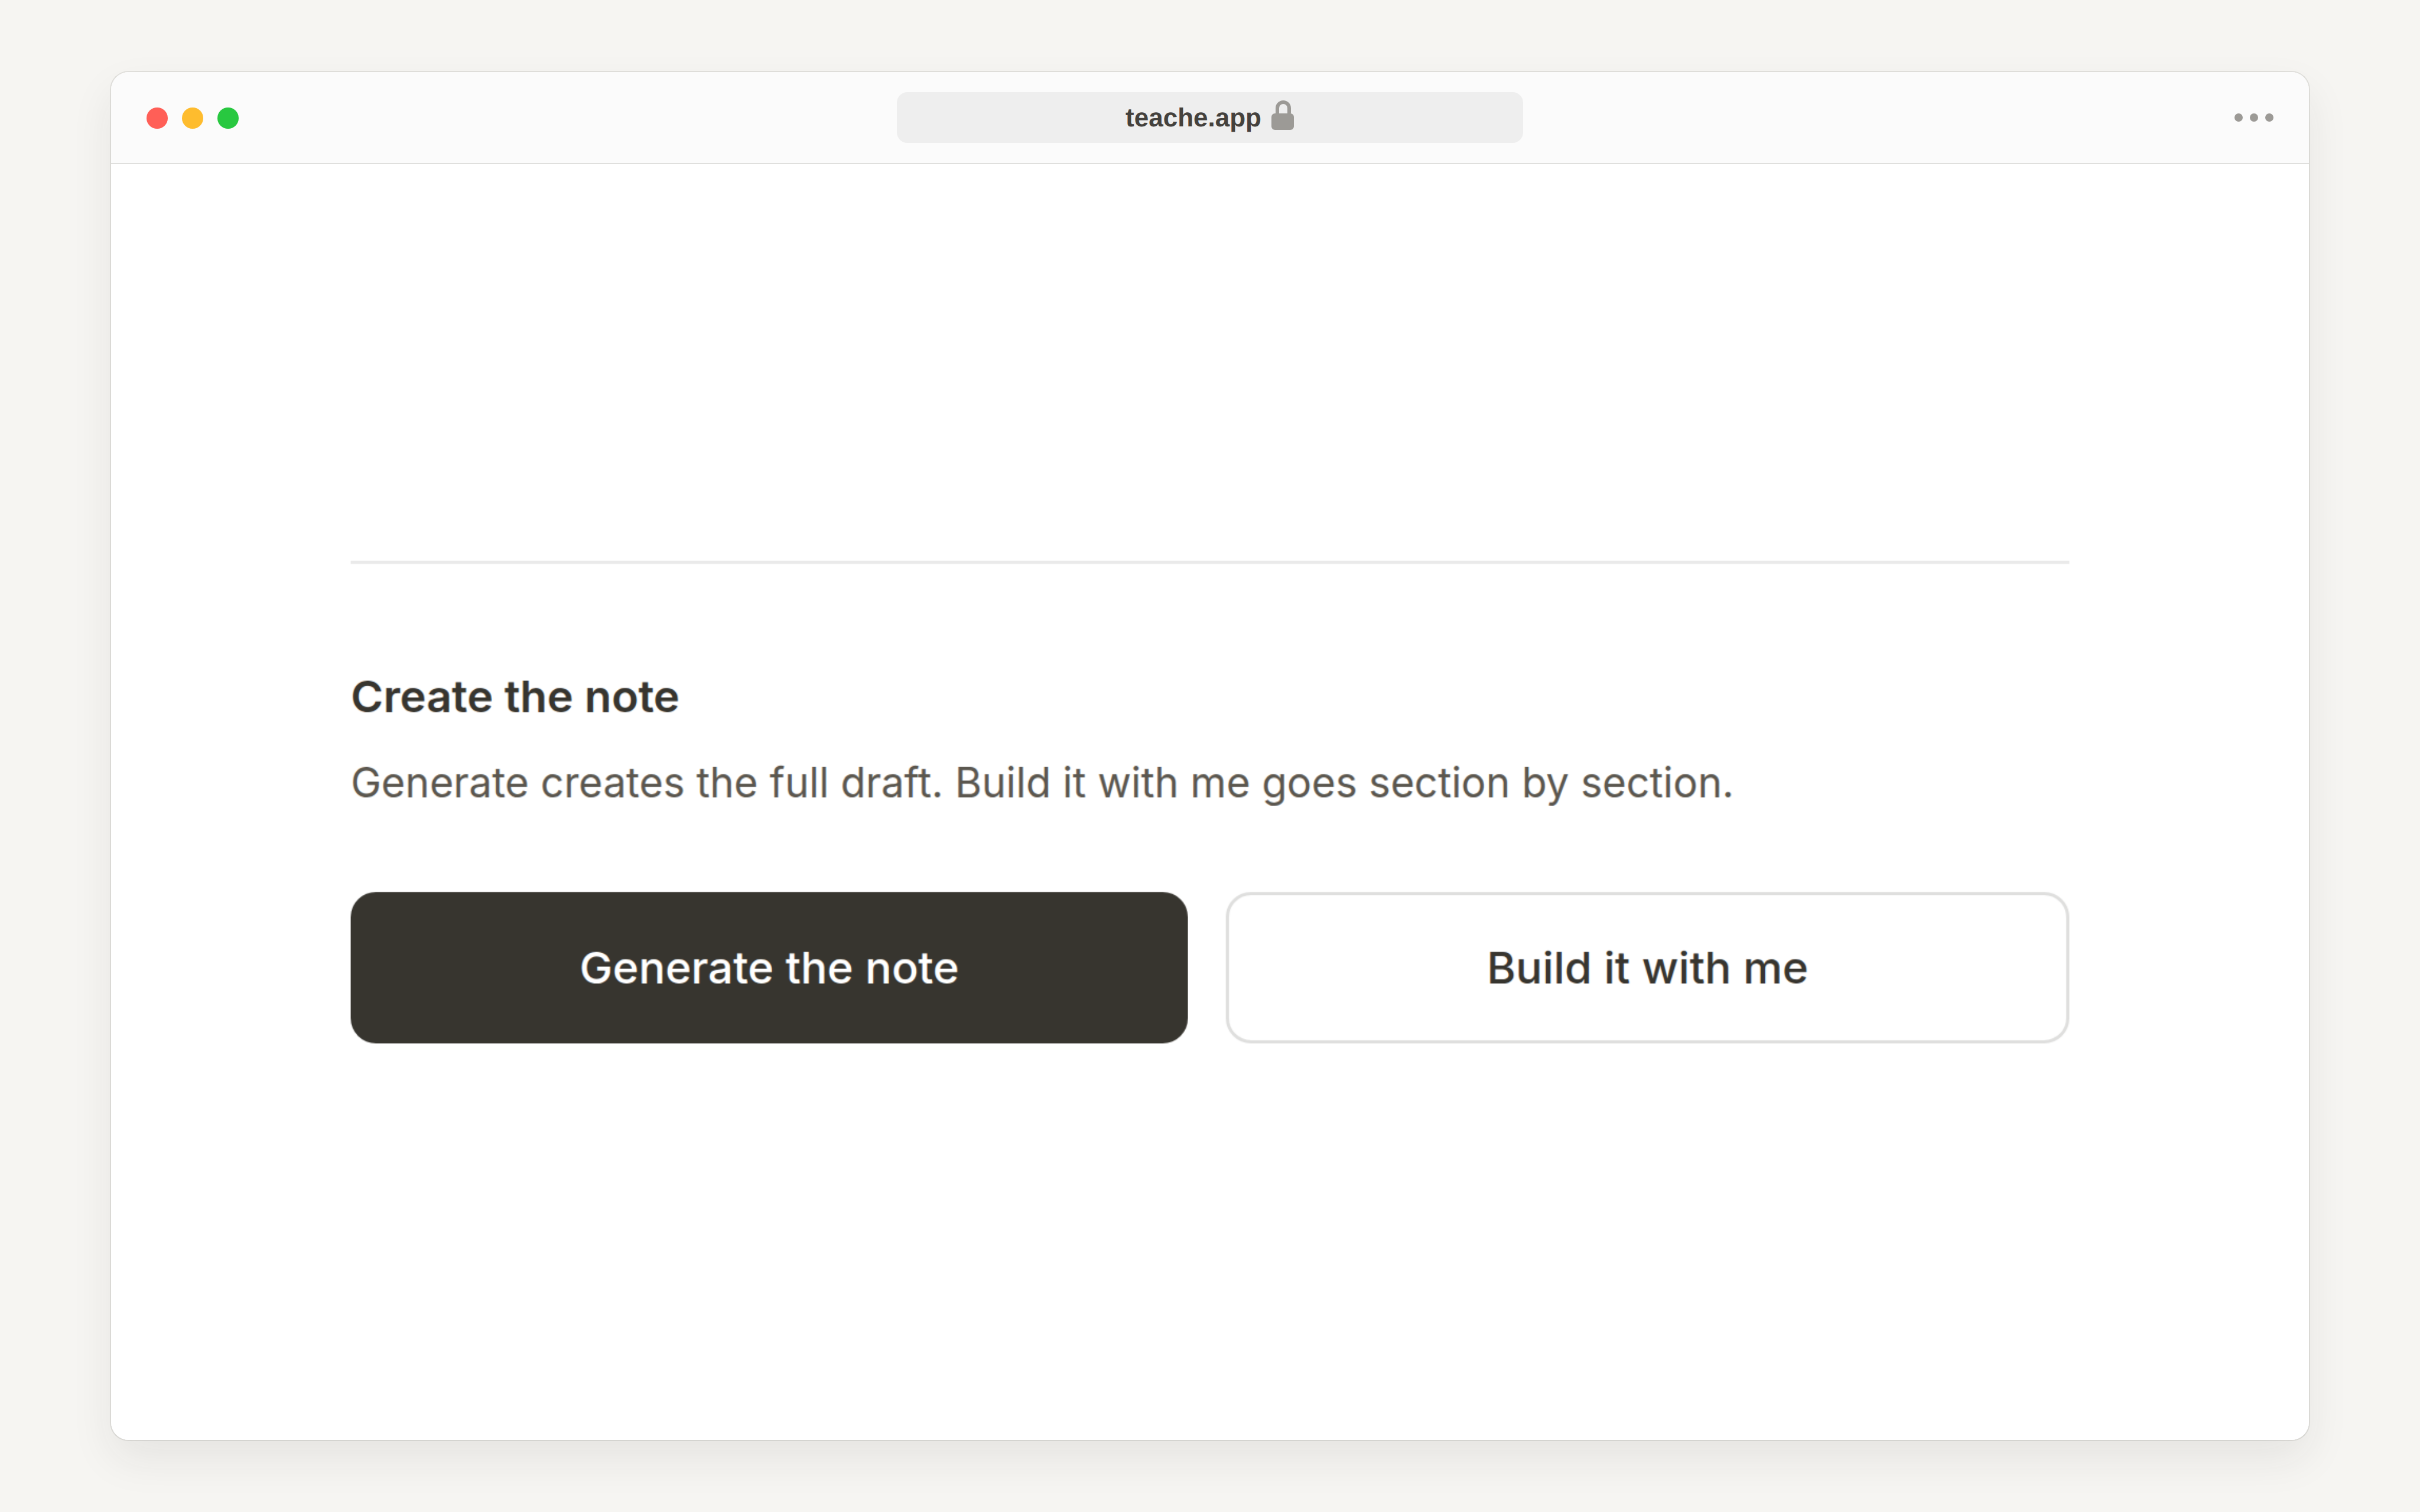
Generate the note writes the first full draft from your indicators and your seed. Build it with me walks through the note section by section, so you accept, edit, steer or ask for options as you go. Both cost the same and both end in the same workspace.
8. Review and print
In the note workspace, read each block and edit anything that does not sound like your class. Editing and redrafting a note you have already generated never charges you again, so there is no reason to accept a section you do not like.
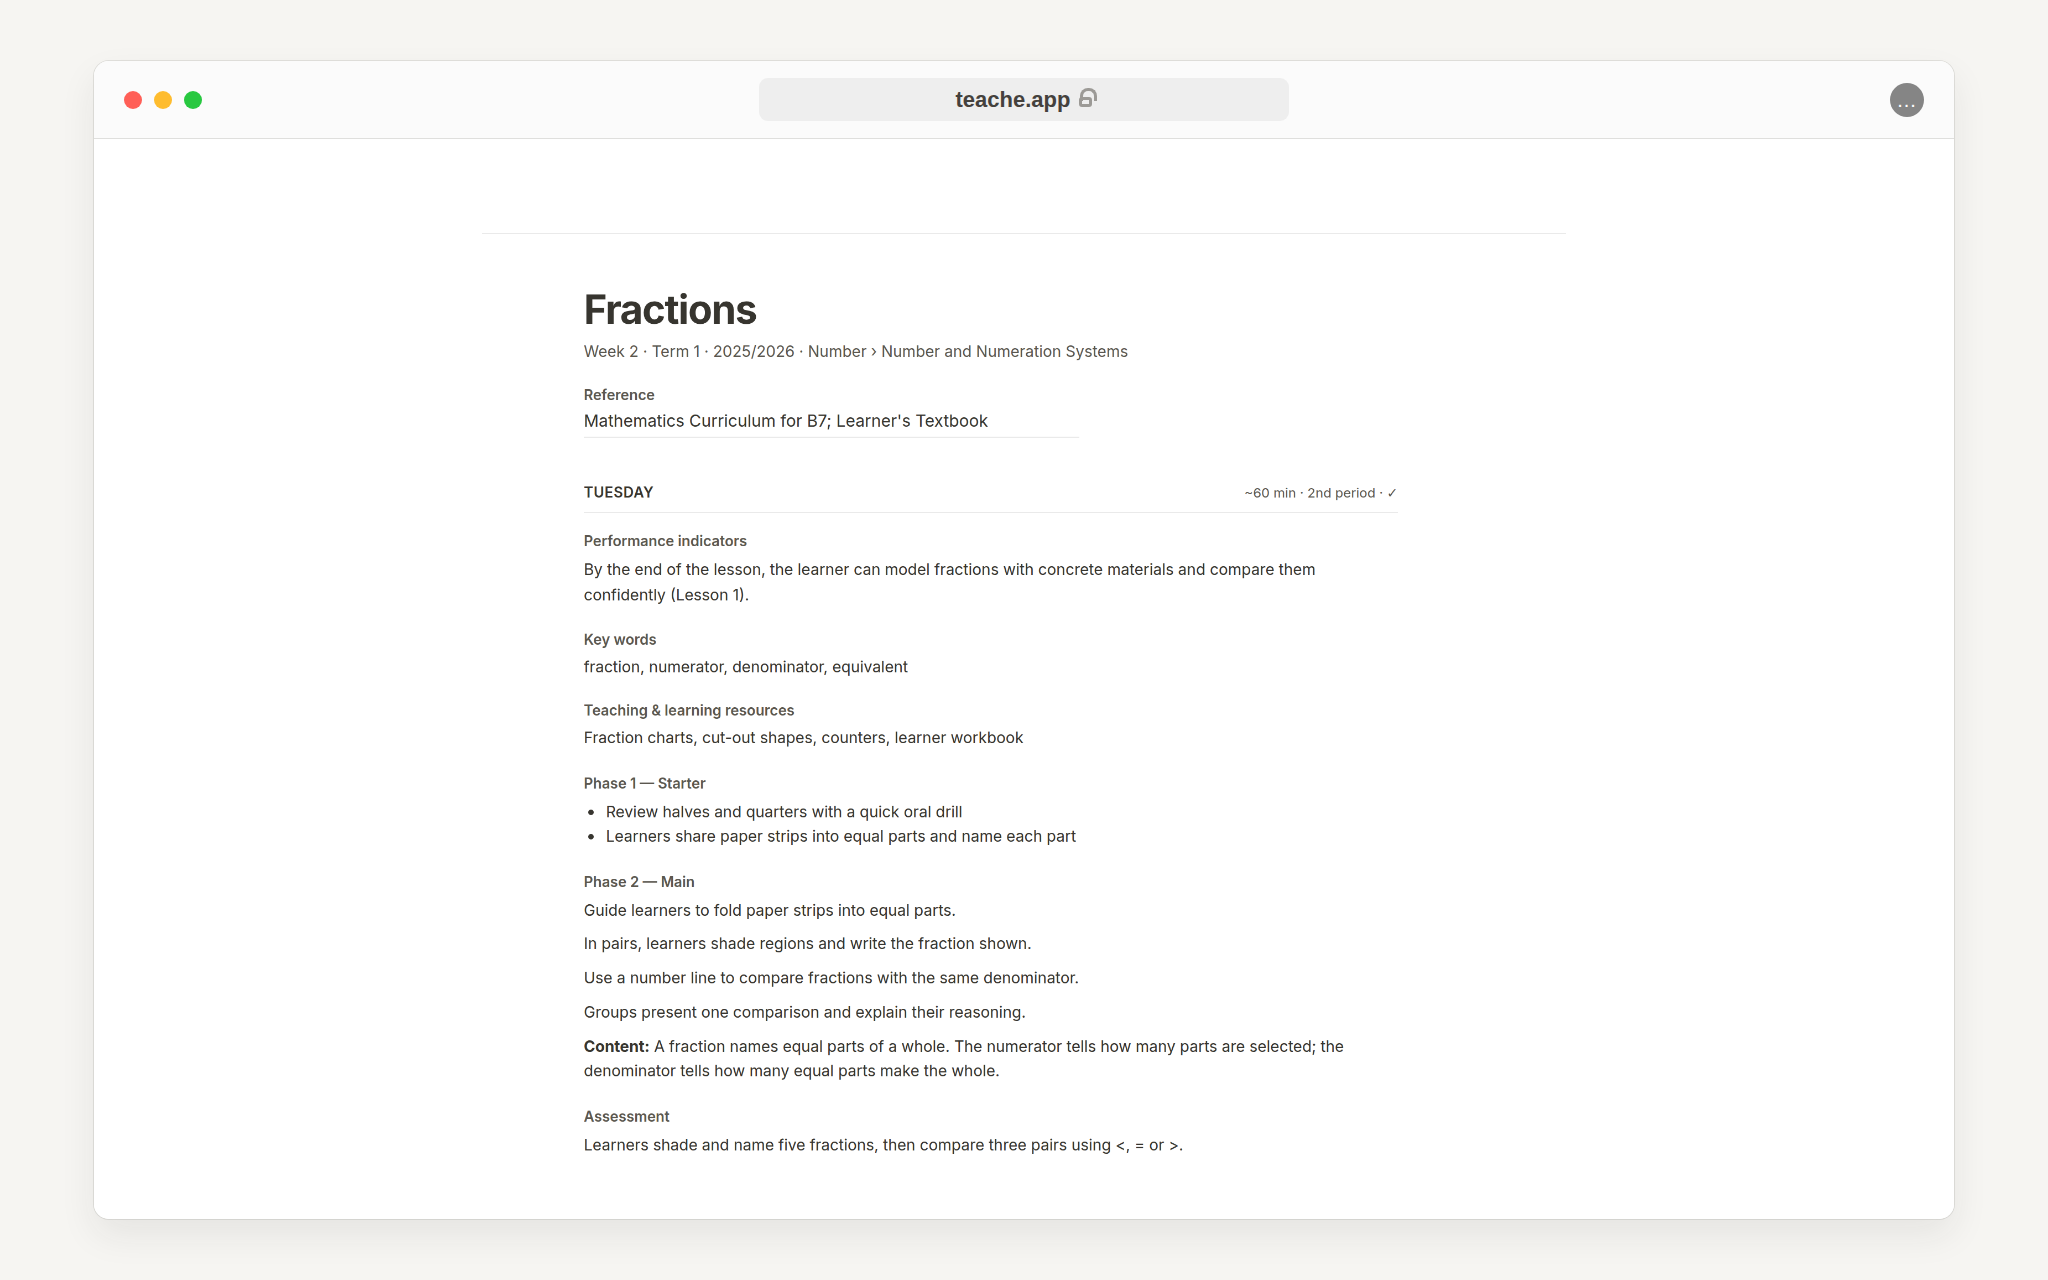
When it is ready, open Preview to see the GES print layout. The details are in print, sign and file your notes.
If you need to change an answer
Every question you have answered stays on the page above you with a Change button, at any point before the note is written.
Changing an answer re-asks whatever depended on it, and nothing else. New teaching times only re-ask your teaching times. Changing what you are teaching also clears your indicators and puts you back in the curriculum picker, because indicators for the old sub-strand are not answers for the new one.
You can also stop half way. Your answers are saved on the device you are using, against that exact class, term and week, so closing the tab when the bell goes loses nothing. Come back to a new lesson note for the same class and week and your answers are waiting.