Set up your classes and subjects
Your classes tell teache which curriculum to use, and the class details help drafts fit the learners in front of you.
1. Complete your profile
On first sign-in, teache asks for your school, region and what you teach. Your district, current term and academic year live in Settings, where you can adjust the details that fill your print headers so they appear the way they should on paper.
2. Add what you teach
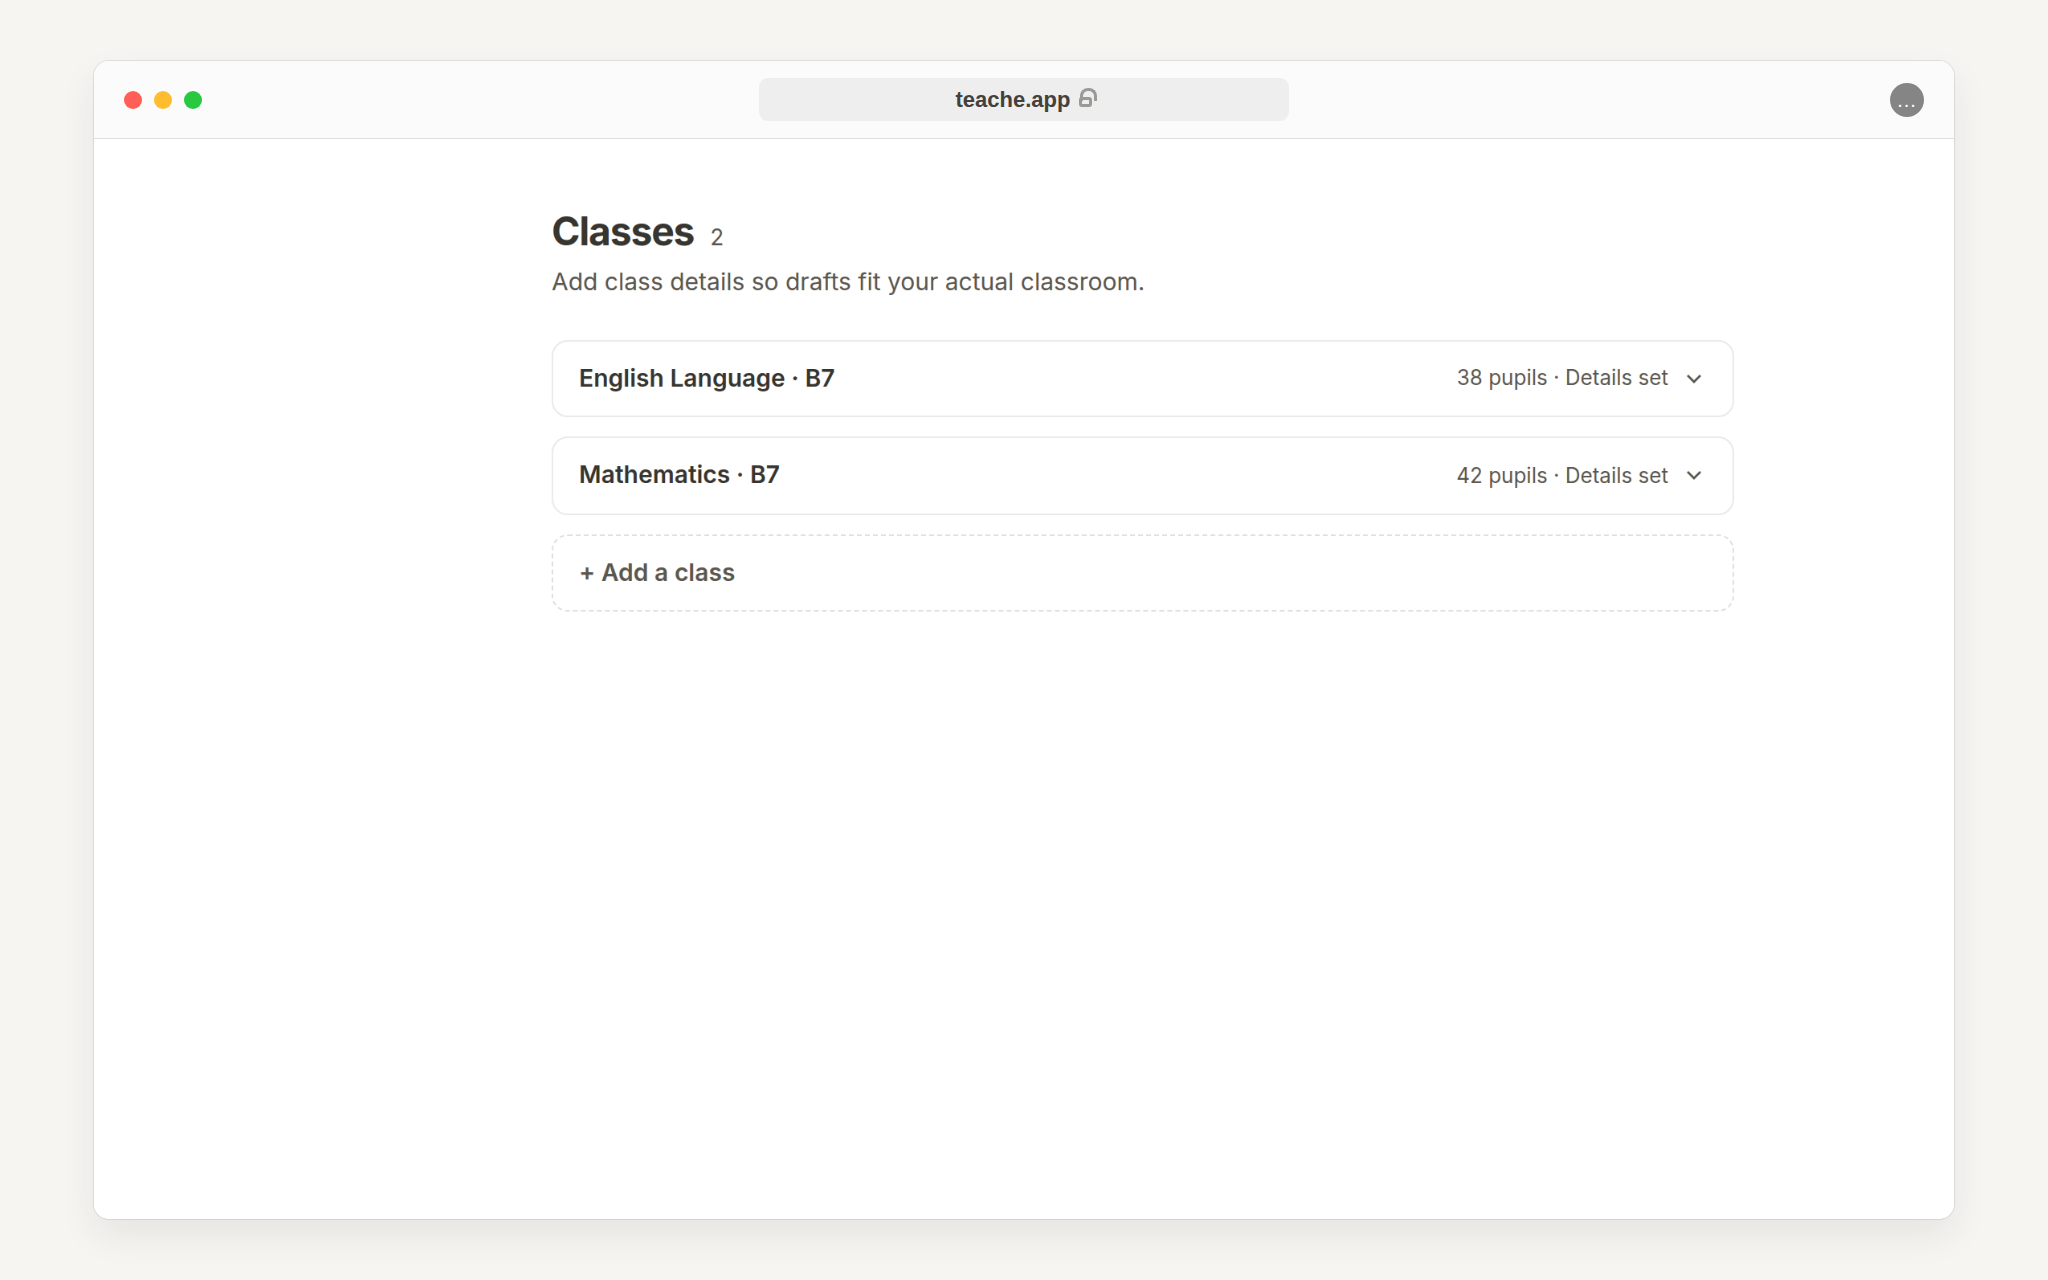
Pick a subject and class level for each class, for example Mathematics, B7 or English Language, B4. The subject and class lists come from the seeded curriculum, so the options match the NaCCA content teache can plan from.
3. Add classroom context
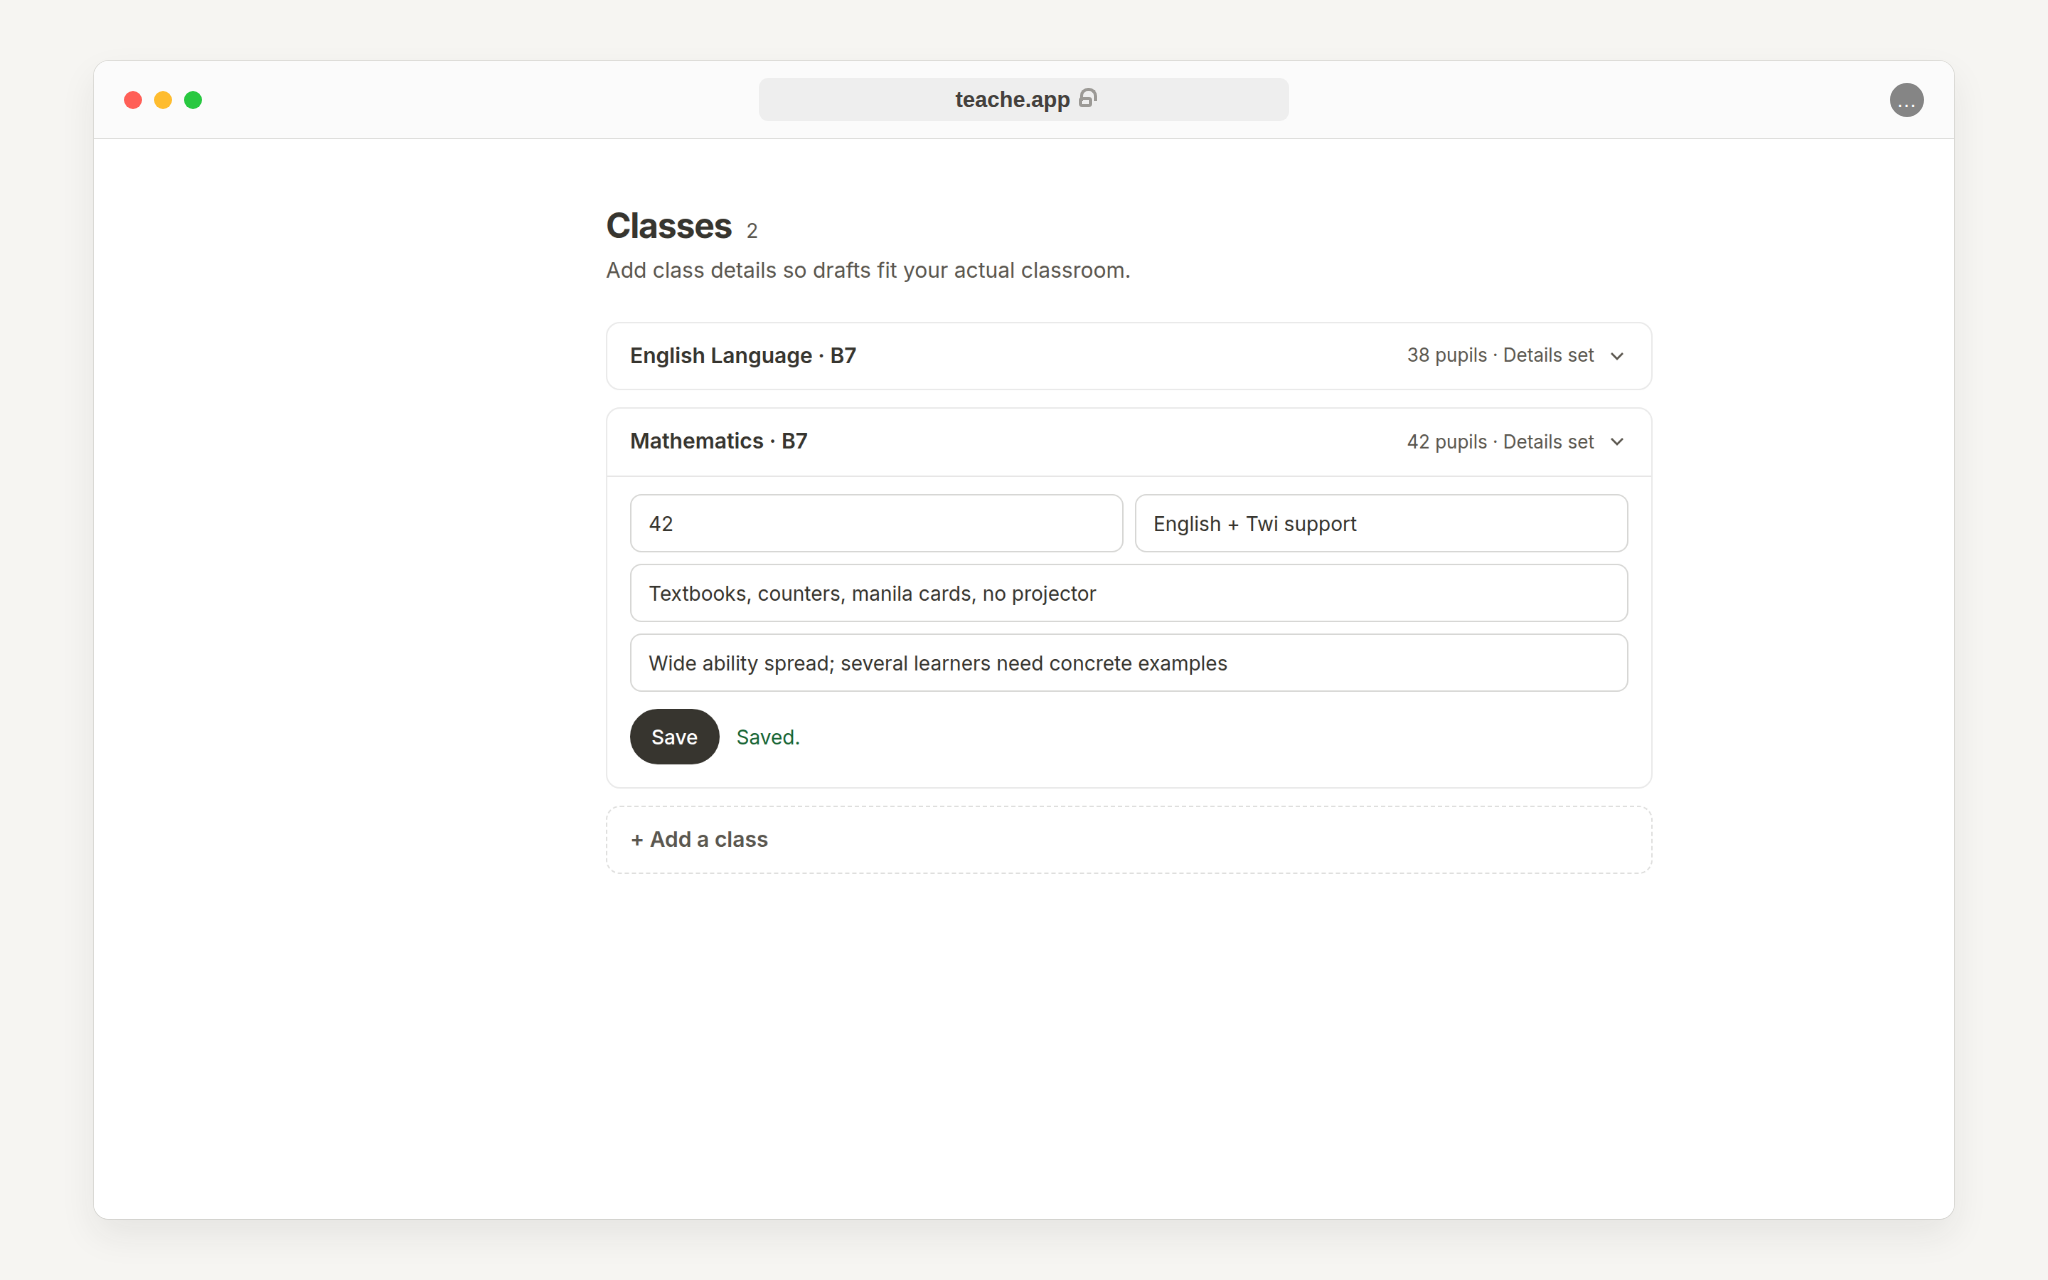
Open a class row to add class size, teaching and learning resources, language notes and ability notes. teache uses those details when it drafts lesson notes, so this is where you tell it what the classroom is really like.
4. Set your timetable
Open a class and fill in the days you teach it this term, with the period and how long each lesson runs. New lesson notes arrive with those rows already filled, so you never type your timetable twice. Change it from the same place whenever your timetable shifts. Changes affect new notes only: notes you have already written keep the days they were written with.
Change it any time
Timetables change. Open Classes from the sidebar to add new classes or subjects mid-term. Existing documents stay where they are; new notes, schemes and records use the updated class list.
Removing a class
Remove class sits at the bottom of the expanded row, and it refuses while that class still has anything filed against it. You get Has documents. Remove its notes and scheme first. and nothing is deleted.
That rule is enforced on the server, not just in the page, so removing a class can never take your lesson notes or your scheme with it by accident. Clear them yourself first if you really mean to.